vSphere 6.5 - upgrading your VCSA from version 6.0
With today’s exciting release of VMware vSphere 6.5, I thought I’d celebrate by upgrading the vCenter Server Appliance (VCSA) in my lab from version 6.0 u2 to version 6.5. Since I’m doing this more or less blind, without having read any documentation whatsoever, I thought I would write a (hopefully short) post about the problems that arise during the upgrade process, and how to get past them.
Before we get started, I should point out that I’m running all this stuff from a Windows 10 workstation, and my lab VCSA is an extremely compact deployment consisting of a VCSA with an integrated PSC, and a separate VUM instance running on Windows Server 2012 R2. The VCSA 6.5 contains an integrated VUM component, which I’m looking forward to seeing.
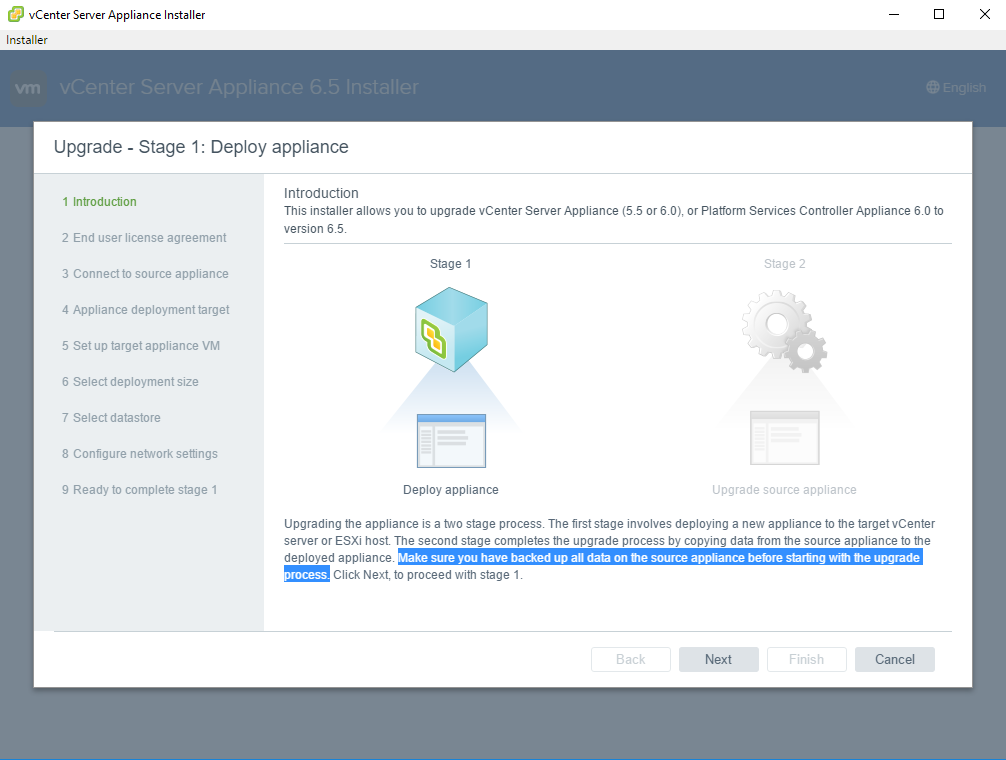
The VCSA 6.5 upgrade is a 2 stage process. The first stage involves creating the new VCSA VM and getting it on the network. The second stage involves doing a data migration from the old VCSA to the new one. By the end of this post, a new VCSA 6.5 appliance with an integrated PSC and VUM should have replaced my original VCSA, and the original VCSA will be shut down and ready to delete. If your topology is more complex than mine (and if you’re looking to perform this upgrade outside of a small lab environment that’s highly probable), your upgrade steps and outcomes may vary from mine.
Starting the upgrade
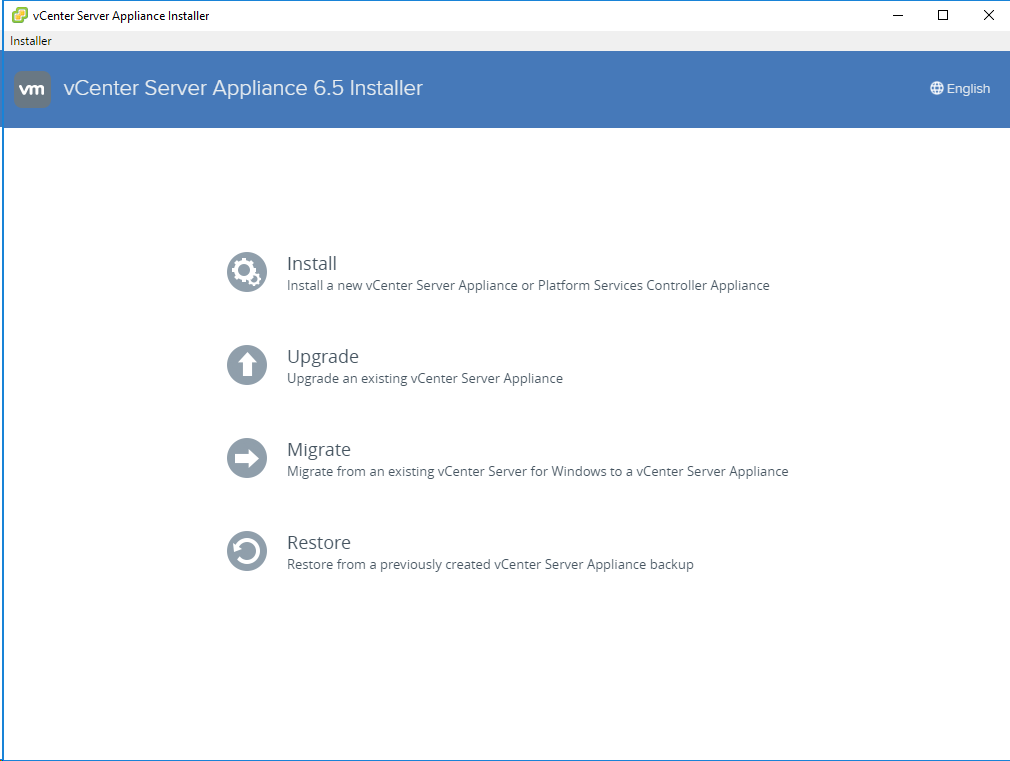
Assuming you’ve downloaded the new VCSA 6.5 iso image from the vmware website, mount the iso and run the installer.exe located on the mounted iso at \vcsa-ui-installer\win32. This will open the snazzy new VCSA 6.5 installer, which no longer requires any browser plugins. The Upgrade option is what I’m looking for today.
Note: during the upgrade process, it’s a good idea to ensure DRS is not set to fully automated. This will ensure the source or destination VCSA VMs will not be migrated around the cluster by DRS during the upgrade process.
Hurdle 1 - backing up the VCSA database
The first step of the upgrade wizard advises us to back up all data on your appliance before you start the process. Luckily, backing up the data on a VCSA is extremely easy, and is documented in KB 2091961. Note that the process as described in this KB article is only supported for restoring the VCSA’s integrated configuration database on the same appliance as the backup was taken from. Trying to restore the database to another VCSA probably won’t work.
As per the documented steps:
- Download 091961_linux_backup_restore.zip from the bottom of the KB article and extract the
backup_lin.pyscript to/tmpon your VCSA using WinSCP. - Login to your VCSA via SSH.
- Run the following command to make the backup_lin.py script executable:
chmod 700 /tmp/backup_lin.py. - Run the backup using the following command:
python _/tmp/backup_lin.py -f /tmp/backupVCDB.bak.You will be notified when the backup completes sucessfully.
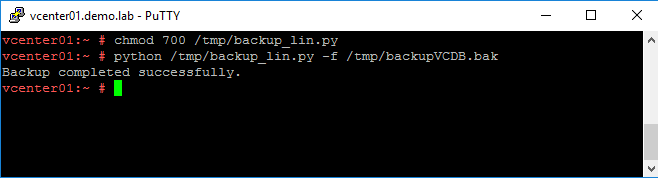
Job done. The backupVCDB.bak file will be stored in the /tmp directory, and because I’m running in a small lab environment mine was only 8MB in size. Hopefully we won’t have to use it…
Hurdle 2 - the migration assistant
At stage 3 of the migration process, after entering in the correct details for my vCenter appliance and my ESXi host, I was greeted with the following error message: Unable to retrieve the migration assistant extension on source vCenter Server. Make sure the migration assistant is running on the VUM server.
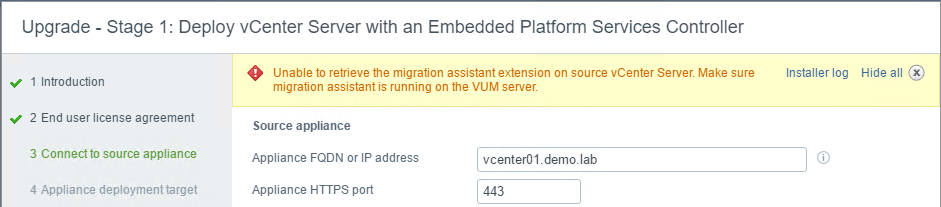
I looked on the mounted iso and noticed a folder called \migration-assistant which contained an .exe. Looks promising. Since my VUM server was running within my vSphere cluster, I mounted the iso via the VMware Remote Console, browsed to that directory, and ran VMware-Migration-Assistant.exe. That will launch a script, which will ask you to supply the password for the windows account you’re logged in with. That windows account must have permissions in vCenter - I’m not sure how much permission, but my account is an administrator in vCenter.
The migration assistant will then run through some prechecks, and then give you a brief summary of what is about to happen and tell you to leave the window open until the upgrade has finished.
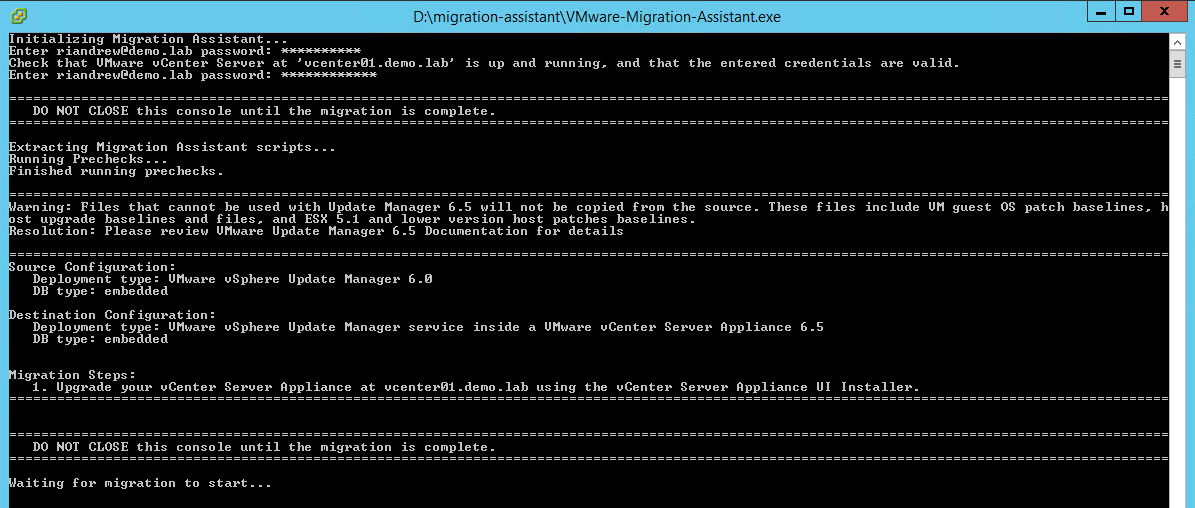
You will then be able to return to the vCenter Server Appliance Installer and click next to continue the process. Onwards!
Hurdle 3 - deployment size
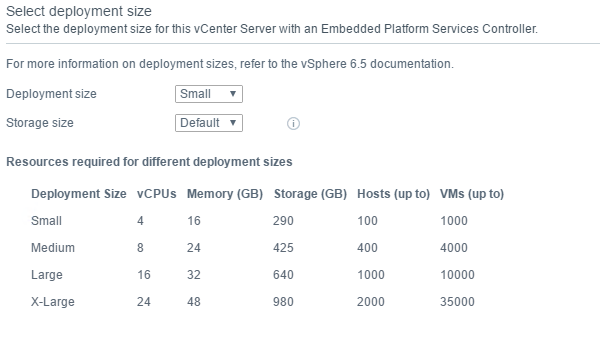
I’ll immediately admit that this isn’t a hurdle so much as a decision - and a bit of an odd one. The VCSA installer has always allowed us to choose a deployment size, which simply configures the VCSA with a certain amount of CPU and Memory resources to support a specified number of hosts and/or VMs. Step 6 of the 6.5 installer now also allows us to select a storage size, which according to the description will simply allocate more permission to the SEAT (stats, events, alarms, tasks) data storage partition. The reason I said this is a bit of an odd decision is because when you set the storage size to _default, the smallest deployment size is small:
But when you set the storage size to large, it will allow you to specify an even smaller deployment size of tiny, albeit one which requires nearly 3x more storage than the Small/Default deployment:
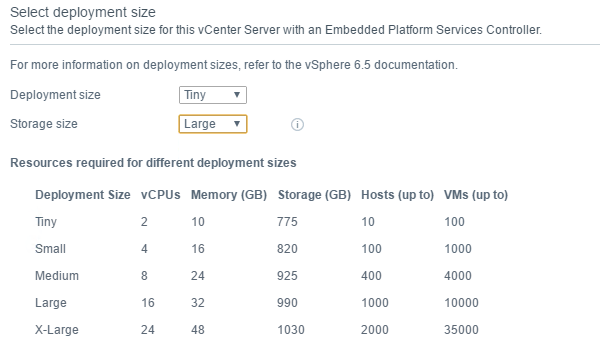
So: a Tiny deployment size, which supports less hosts and VMs, and requires less CPU and RAM, needs nearly 3x more storage than a Small/Default deployment. As I said, it seems odd.
Hurdle 4 - network configuration
If you get to step 8 of the wizard and you notice the network drop down is empty, it’s probably because non-ephemeral dvportgroups aren’t supported. This has always been the case, but it’s easy to forget. Simply create a new dvportgroup on your chosen dvswitch with a port binding method of Ephemeral - no binding, configure the relevant port settings for your network subnet, then return to the VCSA installer and skip back to step 7 before progressing forward again to step 8. Don’t forget to migrate your new VCSA to the correct dvportgroup and delete the one that was just created.
Hurdle 5 - VMware Enhanced Authentication Plugin doesn’t work
After the upgrade had completed and I was greeted with the login page for the vSphere Web Client, I was prompted to install the VMware Enhanced Authentication Plugin. This plugin allows you to use the Use Windows session authentication option to login to the web client, and is the updated version of the old vSphere 6.0 Client Integration Plugin. The problem was that after installing the plugin and restarting my browser, I was still getting prompted to install the plugin after reopening. This was occuring in both Chrome and Internet Explorer, so I knew it wasn’t browser-specific. Restarting my workstation didn’t help. What did help was uninstalling the Enhanced Authentication Plugin, the VMware Plug-in Service, and the old Client Integration Plugin. I then reinstalled the Ehnanced Authentication Plugin, and upon relaunching the vSphere Web Client I was given the correct prompts to allow the plugin to launch. Problem solved!
Conclusion
After ploughing through those issues, I’m happy to report that I’ve got a happy and functional VCSA 6.5 appliance. Hopefully this post helps a few people out there with some niggling “early-adopter” issues when deploying their appliance. There are plenty of really awesome features in vSphere 6.5, and I can’t wait to expand on a few of these features in upcoming posts.
comments powered by Disqus